...

How to Build a Built-In Wardrobe Step by Step

Tips and Trics
Blog cover design featuring two men constructing a built-in wardrobe beside the title 'How to Build a Built-In Wardrobe Step by Step' with a call-to-action button.

Introduction: Built-In Style, Tailored by You

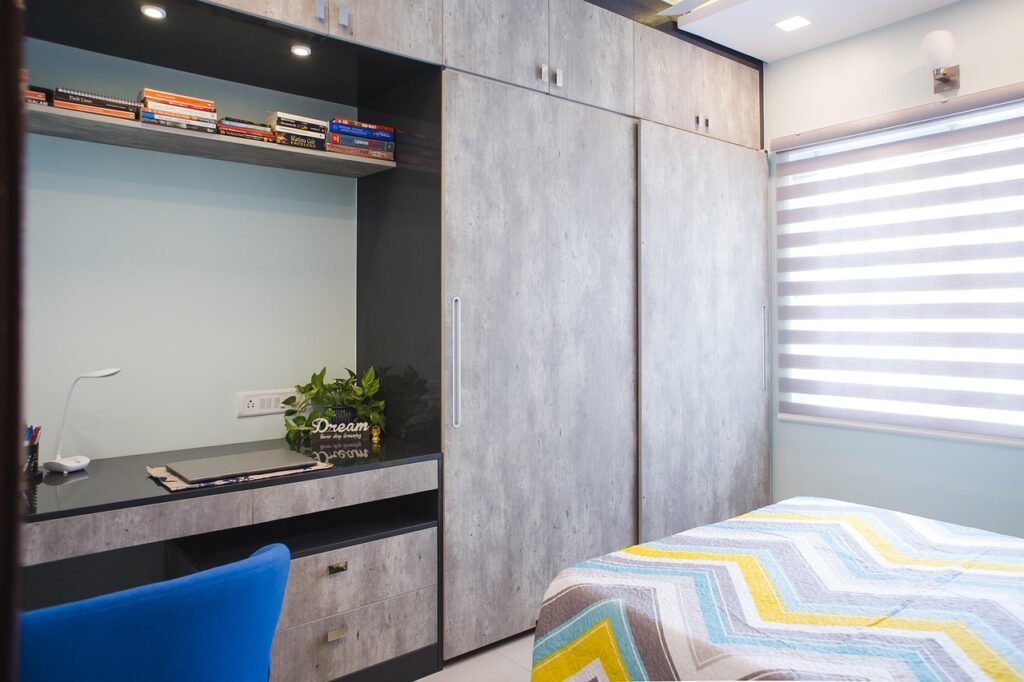
A built-in wardrobe isn’t just about storage—it’s a way to make your space more functional, clean, and visually seamless. Whether you’re a DIY enthusiast or simply want to understand the process, this guide walks you through exactly how to build one.

Let’s break it down.

Step 1: Measure and Plan Precisely

a small black and yellow toy

Start by identifying where the wardrobe will be installed—usually against a flat wall, in an alcove, or under a sloped ceiling.

  • Measure height, width, and depth accurately
  • Take note of plugs, skirting, light switches, or radiators
  • Sketch a basic plan of the layout and internal sections (rails, shelves, drawers)

📏 Pro Tip: Leave at least 2–3 cm tolerance on each side to allow for wall unevenness.

Step 2: Construct the Frame

wardrobe, bedroom wardrobes, wardrobe designs, wardrobe design for bedroom, bedroom design, bedrooms, bedroom interiors, wardrobe, wardrobe, wardrobe, wardrobe, wardrobe


Use timber battens (typically 2×2″) to create the wardrobe’s outer frame:

  • Screw vertical battens to the side walls and ceiling
  • Install horizontal battens along the top and base
  • Ensure everything is square using a spirit level

🧱 Expert Insight: A well-leveled frame is crucial for smooth door operation—especially for sliding systems.


Step 3: Add the Panels and Shelves


A walk in closet filled with lots of clothes

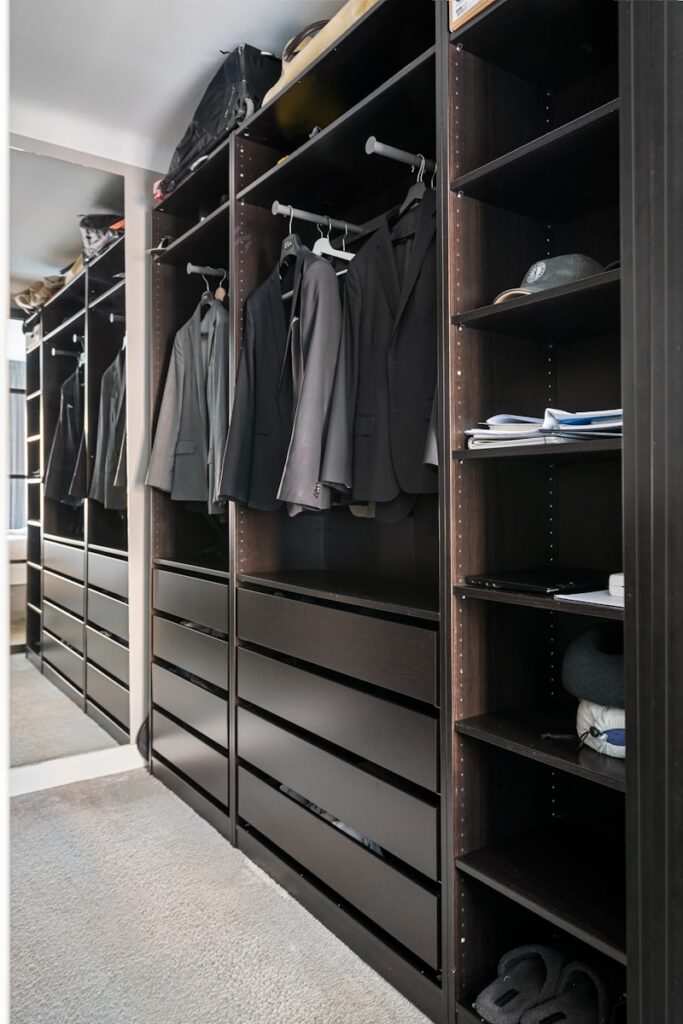
Attach MDF or plywood panels to the inside of your frame:

  • Use 18mm MDF for structural integrity
  • Fix panels securely with countersunk screws
  • Add shelving brackets or rails based on your internal design

Step 4: Fit the Doors

Choose between hinged or sliding doors (ideal for space-saving):

  • Use pre-made sliding track systems or custom-make your doors
  • Measure twice before cutting door panels
  • Install doors using a level to avoid drag or misalignment

Step 5: Paint and Finish

Fill all screw holes and seams with filler, then sand smooth. Apply paint, sealant, or veneer as desired.

🎨 Finishing Tip: Satin or eggshell paint gives a clean, durable finish for bedroom wardrobes.

Book Your Design Visit Now

FAQs – DIY Built-In Wardrobes

Can I build one without removing skirting?

Yes. Cut around the skirting or use a filler strip to box it in.

MDF or plywood for panels, softwood or hardwood battens for the frame.

They require precision but save space—perfect for narrow rooms.

Build or Buy With Confidence

If you’re ready to transform your space, built-in wardrobes offer flexibility, elegance, and full use of every inch. Prefer professional results? Let our experts handle the design and installation.

🌟 Our Reviews

📍 Explore Shaker Fitted Wardrobes Now

 📩 Get a Free Quote or Design Consultation

Important Links:

Tags :
Built-In Wardrobe
Share This :

Leave a Reply

Your email address will not be published. Required fields are marked *

Get a Free Design Quote

At AF Fitted Wardrobes, we value your needs and strive to provide exceptional customer service. Contacting us is the first step towards transforming your space with our bespoke wardrobes and furniture.

Seraphinite AcceleratorOptimized by Seraphinite Accelerator
Turns on site high speed to be attractive for people and search engines.